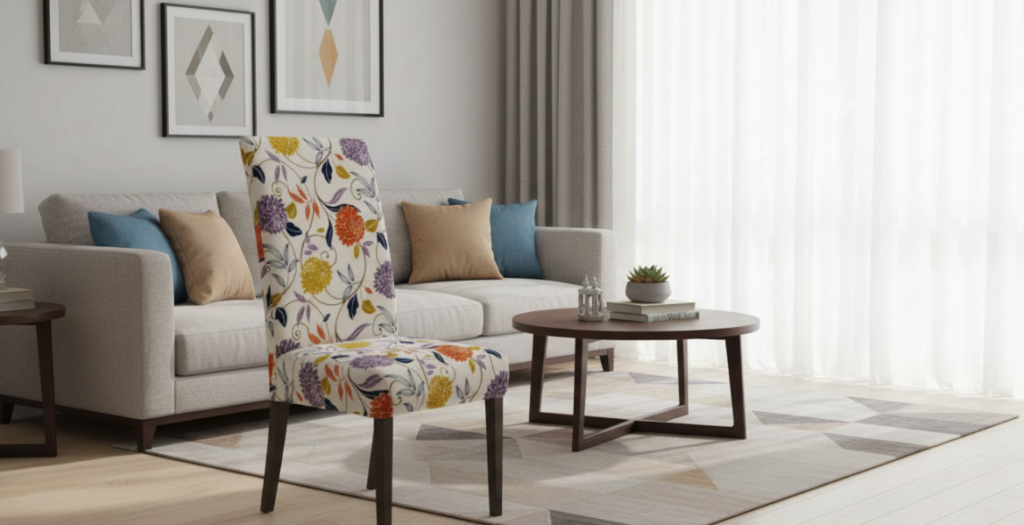
How To Cover A Dining Chair Seat
There is actually a way to renovate dining chairs to create the professional texture of big-name furniture stores. The first step is definitely not to just sew and mend, but to honestly get a screwdriver and remove the seat cushion from the frame.
If the original sponge layer is still firm, you can indeed bread the new fabric directly; but if you are looking for that “ceiling” level DIY effect, I strongly recommend using pliers to remove all the old nails Replace those collapsed old materials with brand new high-density sponges and spray-on cotton. When choosing a fabric, remember to leave a 3-inch (about 7.5 cm) margin around all sides. The “one-door secret” of whether renovation can be achieved is all about “pull”—— the fabric must be pulled tight enough, fixed from the center point of each side, and then compacted with a heavy-duty nail gun. Corner handling is the most demanding aspect of your skills. You have to use “folding and tucking” to tuck the fabric in so that it does not look bulky. Finally, the excess fabric was removed, the screws were screwed back in, and a chair that looked like it had been taken from a high-end showroom was complete.

Step 1: Preparation And Dismantling The Framework
The work you want to do does not seem cheap, and you must not be lazy in this step of disassembly. With the dining chair upside down on a flat tabletop, use a manual or electric screwdriver to carefully remove the screws between the seat cushion and the wooden frame.
The removed screws must be thrown into the small box immediately. The original hardware will always fit the best and save you a ton of hassle when you restore it in the end.
Step 2: Evaluate “Foundation”
After the seat cushion is removed, don’t rush the wrapping cloth yet, you have to look at the filling inside first. While it’s easy to just put new cloth over old cloth “Kuaishou cuisine”, high-quality renovations often require starting over.
If the old material has collapsed or even started to fall apart, use pliers to remove all the old nails, exposing the wooden base, and replace them with these two:
- High-density sponge: This is the source of support and ensures that you can sit on it every day without it collapsing quickly.
- Spray-on cotton: Spreading it on top of the sponge softens the edges and makes the whole chair look rounder and more professional.
Step 3: Measure And Cut The Fabric
Accurately measured is not only to save money on cloth, but more importantly, enough “gripping hands” must be left to exert force. Lay the selected fabric on the reverse side up and press the seat cushion sponge side down.
When cutting with fabric shears, be sure to leave a 3-inch margin around the edges. This margin is crucial ——with these few centimeters, you have enough room to push and pull the fabric as tight as possible, which is what separates “amateur players” from “professional masters”.
Step 4: Inject The Invisible “Secret Weapon”
Many people ask me why the chairs they make wrinkle after sitting for a few days, but they are actually not strong enough.
Start in the center: Start at the center point of the front edge, pull the fabric tight, and drive a yard nail into the back of the board. Then shift to the center of the back edge and tighten and secure it as hard as possible. The left and right sides also follow this procedure.
Spread outward: Starting from the center nail, slowly advance towards the corner. Use a heavy-duty nail gun to drive nails every 1 to 2 inches, not forgetting to flip over and look at the front to make sure there are no wrinkles or sagging.
Step 5: Get The Hardest “Folding And Tucking” Corner
Corner handling is often the most frustrating part of a renovation. To avoid an unsightly bump in that area, try “folding and tucking”:
Pull the fabric from the corner directly toward the center of the seat cushion.
Fold the remaining fabric on both sides into neat, symmetrical pleats, stuffing the excess material inside.
After determining that the corner is both flat and smooth when viewed from the front, nail it through all levels in one go.
Step 6: Final Finishing And Reloading
Once all the edges and corners are secured, use quick scissors to trim any excess fabric near the yard nails. This step is to ensure that the seat cushion fits snugly against the frame when it is put back in.
Finally, align the seat cushion with the screw holes in the frame and screw the original screws back in.
Author: Alex Miller
“Hi, I’m a passionate home renovation enthusiast who believes that high-end style shouldn’t always come with a luxury price tag. Over the years, I’ve personally restored dozens of chairs, moving beyond simple repairs to master the art of professional upholstery. “